Windows 10 Recycle Bin: How to Hide, Empty, and Recover Data?
Do you possess Windows 10 in your system? If so, we won’t ask you to raise your hand. Rather, provides you with an in-depth detailing of one of its classical features – Recycle bin. No doubt it is a room of trashed items that are meant to stash the deleted items. But it has a whole new science of its own. Although, for some, it may be a useless option for others, it is a viable option to hold on to. Most importantly, if one ever misses out on a file or folder, the Recycle bin can act as a life-saving guard. So, buckle up as today we’ll brief you with an extensive guide on Windows 10 Recycle Bin.
- Part 1: How to Empty Recycle Bin in Windows
- 1.1 Using Recycle Bin Desktop Shortcut
- 1.2 Empty Windows 10 Recycle Bin from Manage Menu
- 1.3 Empty Windows 10 Recycle bin from Settings
- Part 2: How to Recover Files from Windows 10 Recycle Bin
- 2.1 System Protection Feature
- 2.2 Command Prompt
- 2.3 Restore from Recycle Bin
- Part 3: How to Hide Windows 10 Recycle bin
- 3.1 Pin to Start
- 3.2 Move to File Explorer
- 3.3 Hide from Desktop Icon Settings
Part 1: How to Empty Recycle Bin in Windows
Curious to acquaint yourself with some of the awesome tricks helpful to empty up the Windows 10 Recycle Bin? See the enlisted means right below.
1.1 Using Recycle Bin Desktop Shortcut
No doubt recycling waste items is important. But, when there is no need for the same, maintaining it in the bin is just not required. Here is the methodology for removing the contents available in the recycle bin.
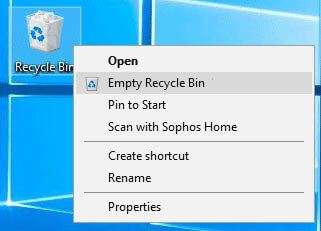
- On your Windows PC, locate for “Recycle bin” icon and gently right-click on it.
- From the context menu that appears, choose the “Empty Recycle bin” option.
- A pop-up to warn you about the actions will appear, confidently hit on “Yes”.
1.2 Empty Windows 10 Recycle Bin from Manage Menu
There is yet another way to empty the recycle bin in Windows 10, that’s simply done by emptying from the Manage menu. Just as we manage our work manually, using a manage menu to brush away the contents of the recycle bin is essential.
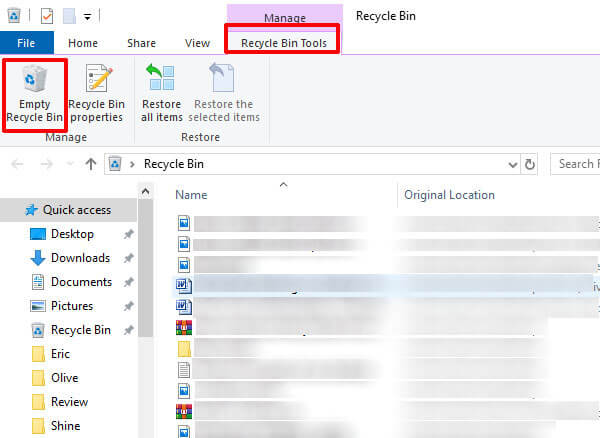
- Just launch the Recycle bin first.
- In its window, locate and tap the “Manage” menu bar.
- Click on the “Empty Recycle bin” to free out the space of the Recycle bin.
1.3 Empty Windows 10 Recycle bin from Settings
Here is the last resorted option to empty the contents of the recycle bin, i.e. by using the settings. The steps are mentioned below:-
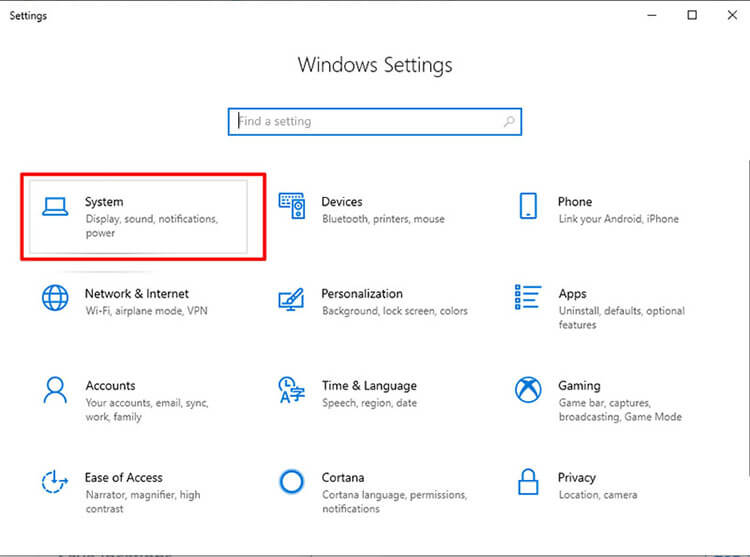
1. Start with opening Settings by typing “Settings” in the search bar respectively. Or you can press the Windows + I keys together to open Settings.
2. Inside the System window, opt for “System” to proceed further.
3. Then launch the “Storage” settings from the left panel and opt for “This PC”.
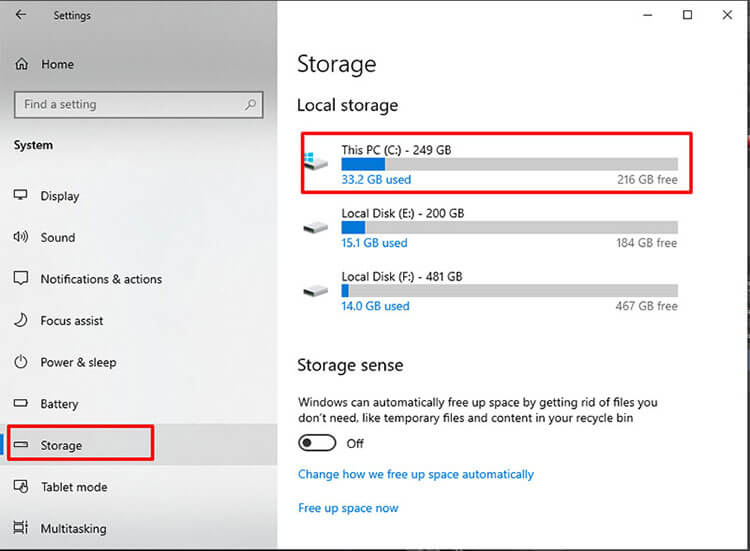
4. Now, just tap on “Temporary files”.
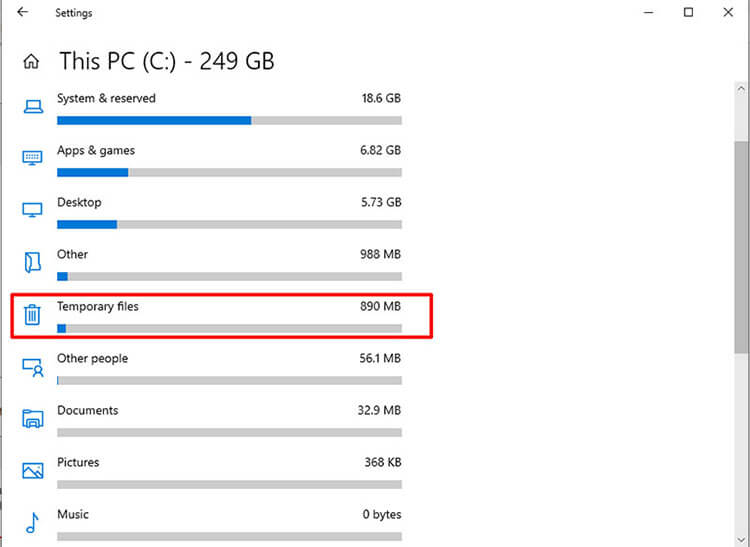
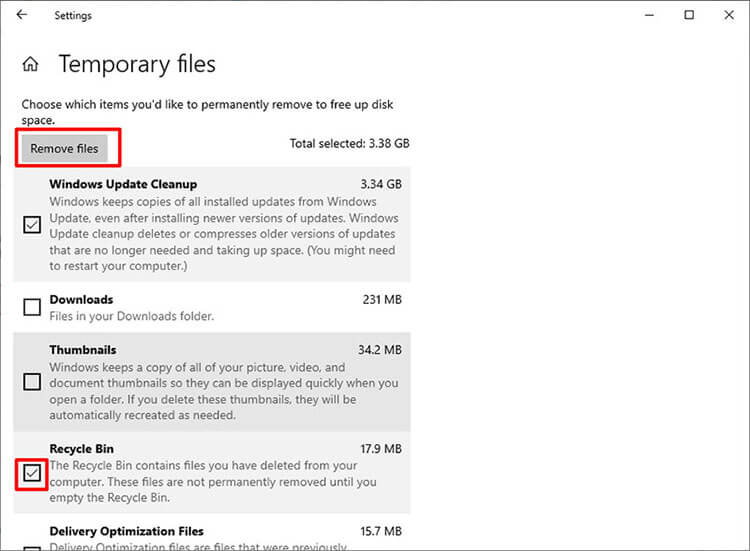
5. At last, select the “Empty recycle bin” followed by “Remove files” respectively.
Part 2: How to Recover Files from Windows 10 Recycle Bin
2.1 System Protection Feature
Sometimes some uncertain chain of problems may signal the problem of permanent deletion of files. Common-day issues like system crashes, computer malfunctions, and the chances of data being lost arise. Hence, to resolve this thread of problem, Windows incorporates a System Protection feature which is useful in restoring the files. Here is the comprehensive manner of steps essential in securing recycle bin file recovery.
Note: The System Protection Feature must be enabled on your PC. If not, then do enable it before stepping into performing the following steps.
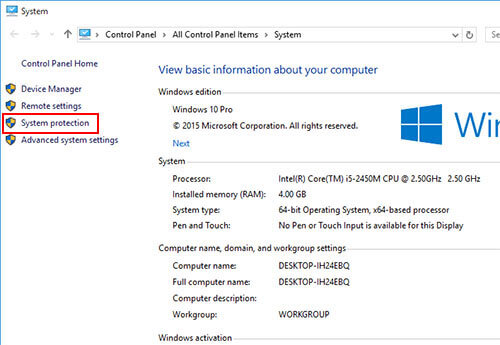
- From your desktop, right-click on “This PC” and choose “Properties”. Go to “System Protection” on the left panel.
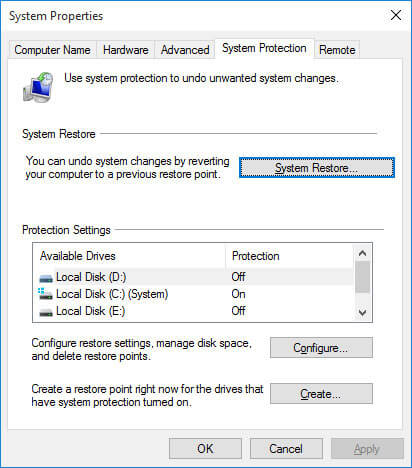
- On the System Protection window, simply click on the “System Restore” button.
- It will direct you to a System Restore Wizard, just click on “Next” to further the actions.
- This will prompt you to the Restore Point page. Simply, tap on restore point and “Next” respectively.
- At last, ensure to hit the “Finish” to complete the task.
Right after this, your Windows PC will proceed to automatically restart. Patiently wait for a couple of seconds and wait till you are able to get the restore point.
2.2 Command Prompt
</div
For the tech savvies, it is one of the adventurous methods they would enjoy. Especially, when the command prompt is filled to the brim, the oldest kinds of files just become hard to find. For that, giving some quick-short commands in the prompt window can ease the recovery of contents of the recycle bin files. Just follow the steps in the said order.
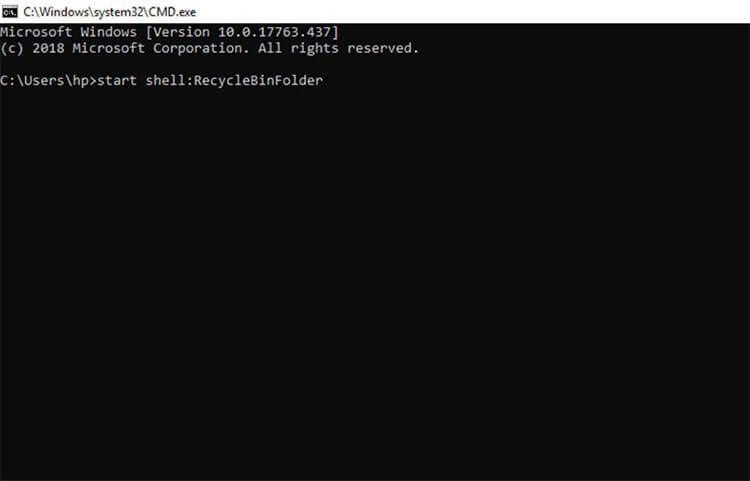
- First and foremost, just run the “Command Prompt” window by using Windows+R and enter “CMD” in the field.
- After entering the CMD windows, simply key in the command right below:
“start shell: RecycleBinFolder” and then hit the Enter key!
- Now, select the files you want to recover and fetch them in the location where they are stored.
2.3 Restore from Recycle Bin
If you’re sure enough of accidentally deleted the file in the recent past then it is quite sure that it might be somewhere in your Recycle bin. Being a repository in nature, restoring files can become quite obvious. Here is how to recover files from the bin.
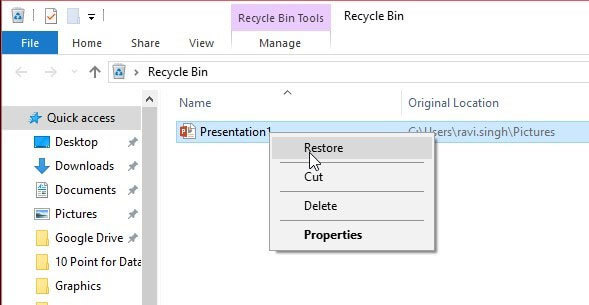
- Over your PC, just visit the Recycle bin folder.
- The Recycle bin folder opens up, search for the file deleted by you.
- Once located, just right-click on it and press the “Restore” option in the menu bar.
- Now, to ensure the file is restored, just surf the file from where it was lost in the first place.
Part 3: How to Hide Windows 10 Recycle bin
If you wish to hide the bin as it just doesn’t suit the vibe you wish to have, then you can be carefree of it being away from your sight. Here are some of the useful ways to hide the Recycle bin from Windows 10.
3.1 Pin to Start
Minimalist believes in having things that are needed by them. Certainly, Recycle bin is not very much in the routine. In our basic sense, we only delete things we no longer need and put it away. Having the icon of a Recycle bin does not contribute to any good. So to get rid of the very icon, here is the step for pinning it to the Start menu.
- One just needs to right-click on the “Recycle bin” over the desktop.
- You’ll notice a right menu where you can select the “Pin to start” option and that’s it!
Now, the Recycle bin icon will be removed and transmitted to the Start menu.
3.2 Move to File Explorer
Another way of hiding the recycle bin is by simply moving it to the File Explorer. It is also a feasible option to hide the icon. And this takes less than 2 seconds to get done. Simply press the Windows + E keys on your keyboard. The File Explorer will be launched. Now, drag and drop the Recycle Bin folder from the desktop. You can now delete it from the desktop and this way the Recycle Bin will be hidden from the desktop.
3.3 Hide from Desktop Icon Settings
Users can also consider hiding the desktop icon using the settings. Sounds cool no? Well, if this strikes you, then follow the steps mentioned below and bid bye to the desktop icon completely.
1. On your desktop, right-click on the blank area and simply select “Personalize”
![]()
2. Under the “Personalization” section, opt for “Themes” and “Desktop icon settings” should be selected.
![]()
3. At last, un-tick the “Recycle bin” check box followed by pressing the “Apply” button.
![]()
Conclusion
So folks we hope by now you must have had a great level of in-depth study on Windows Recycle bin. To ensure that one doesn’t get stuck somewhere, ample means methods, and ways have been laid down for recovering contents from the Recycle bin, removing icons, and emptying the same in case the top is filled to the brim. Do let us know which method worked out right for you in the comments section!